All you need to know to get started
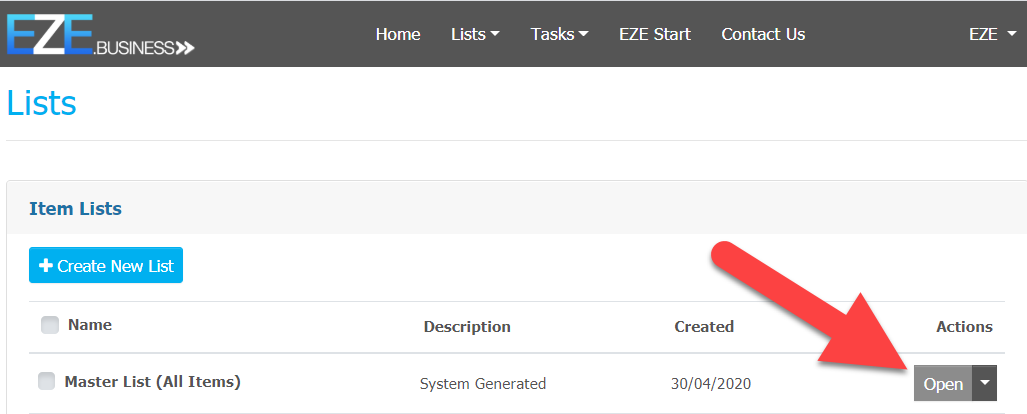
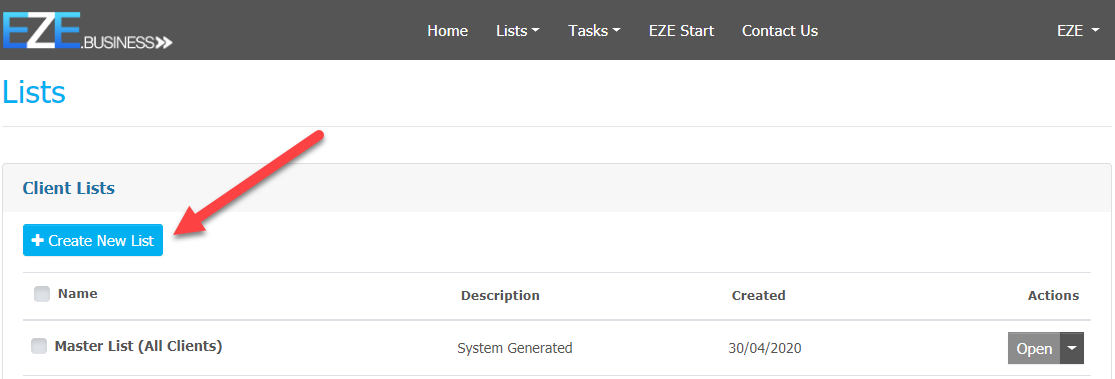
Lists

Introduction
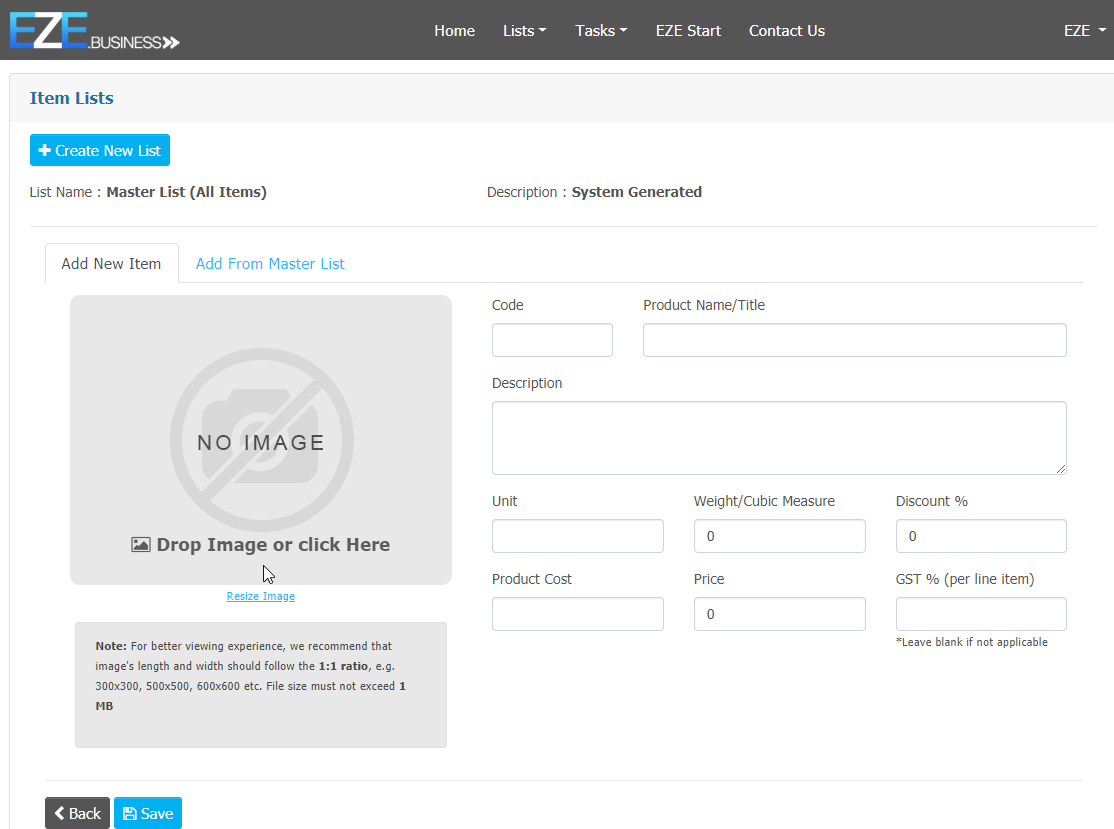
Graphics can be either dragged from another location such as your desktop or, by clicking on the Click Here line, you can find and open the graphic to upload it into your items list.
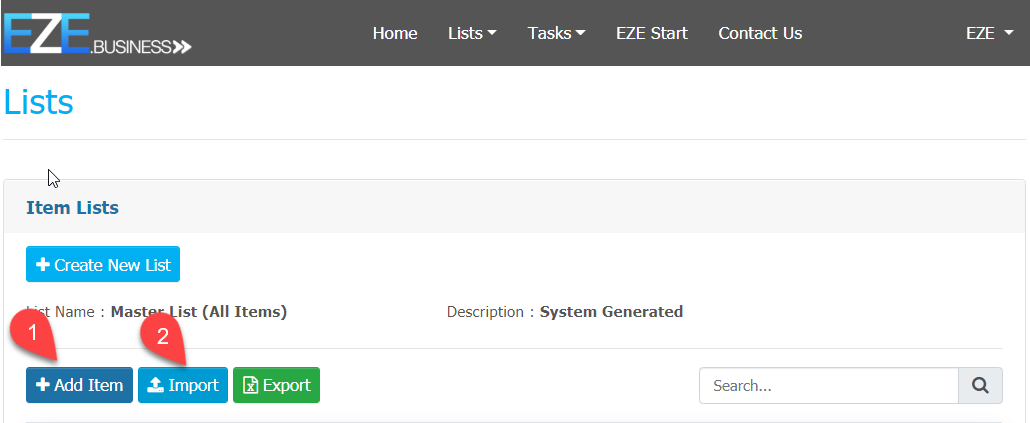
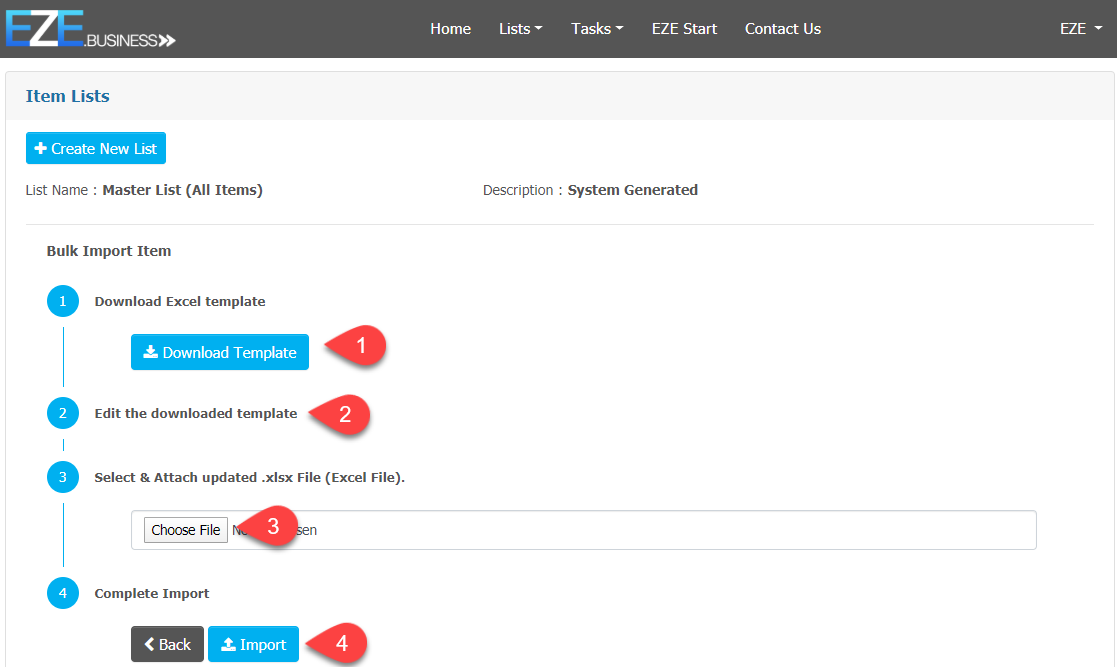
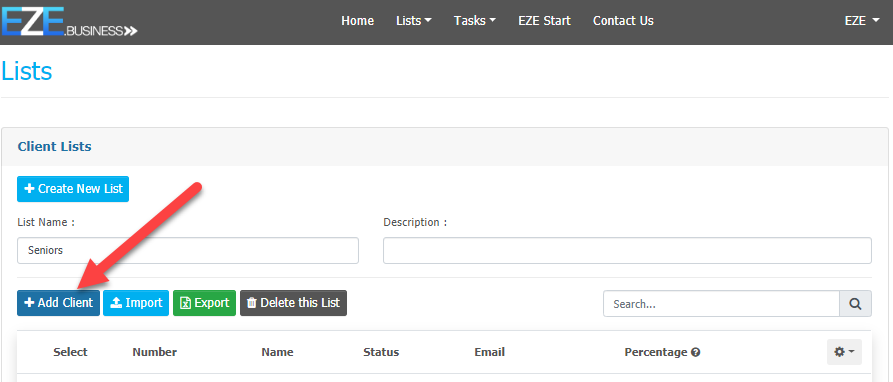
To ADD ITEMS in Bulk, use the IMPORT button and this screen will open.
Simply follow the Wizard to access a copy of the items template.
1. To download a copy of the Excel Items template. When you press the Download Template you will see the download process happening in the bottom left hand corner of your screen. When it stops, if you select the small up arrow (1) this will open a menu to either, Open (2) the spreadsheet or (3) show in folder.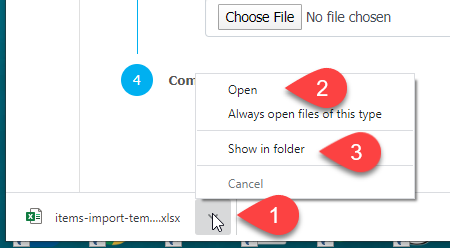
2. Enter all the details to create the completed List of Items you want to import, then save the completed spreadsheet to a location on your computer that will be easily found for the import process.
3. To import the completed List of Items from the spreadsheet, press the CHOOSE FILE button and locate your completed spreadsheet.
4. To import the completed list of items from the spreadsheet press the IMPORT button.
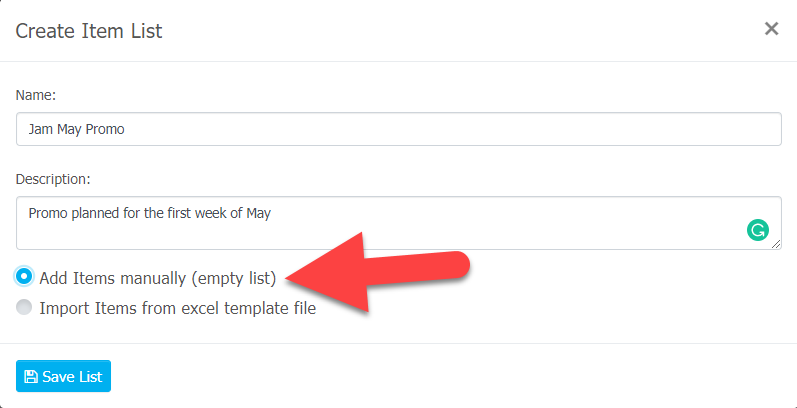
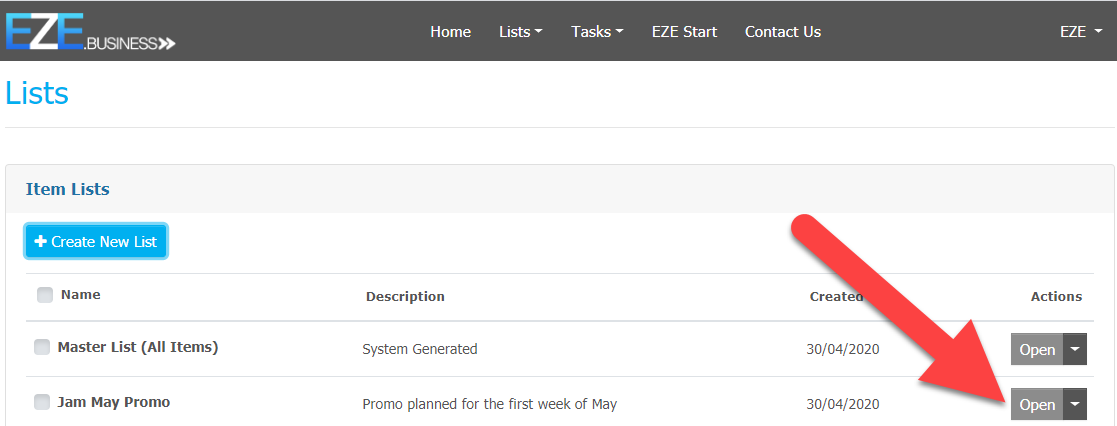
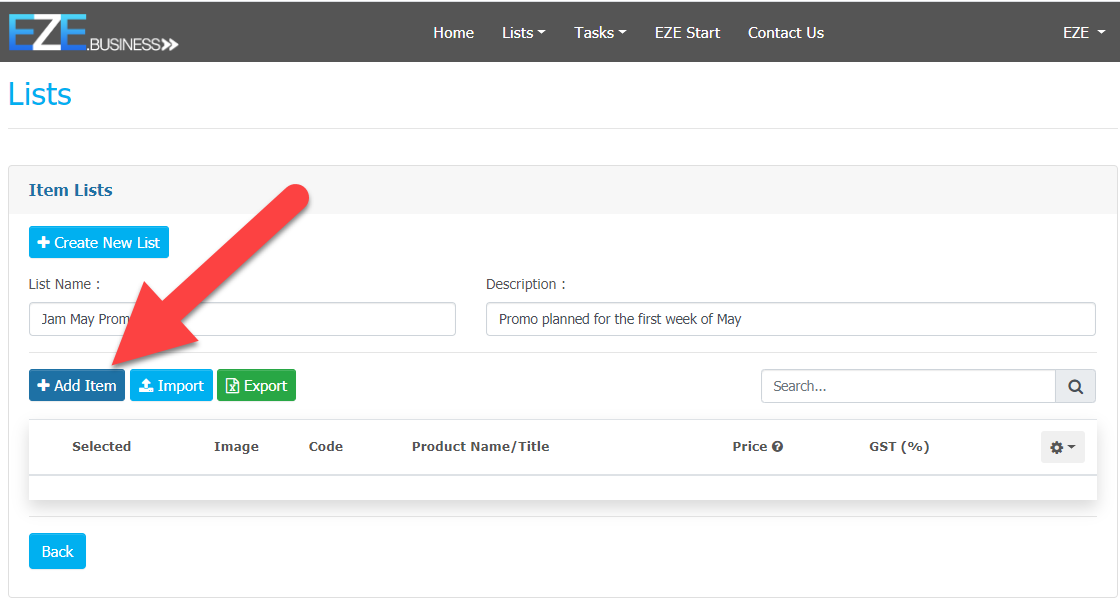
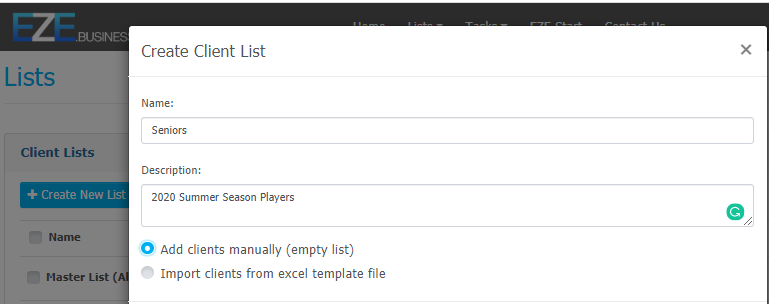
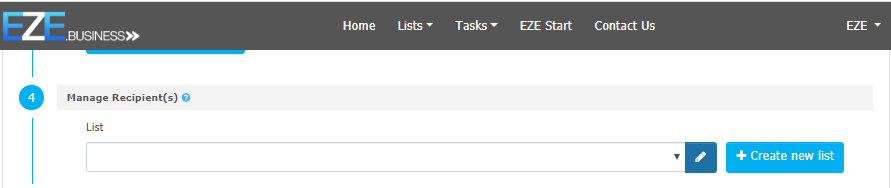
a. To create new list press the CREATE NEW LIST button.

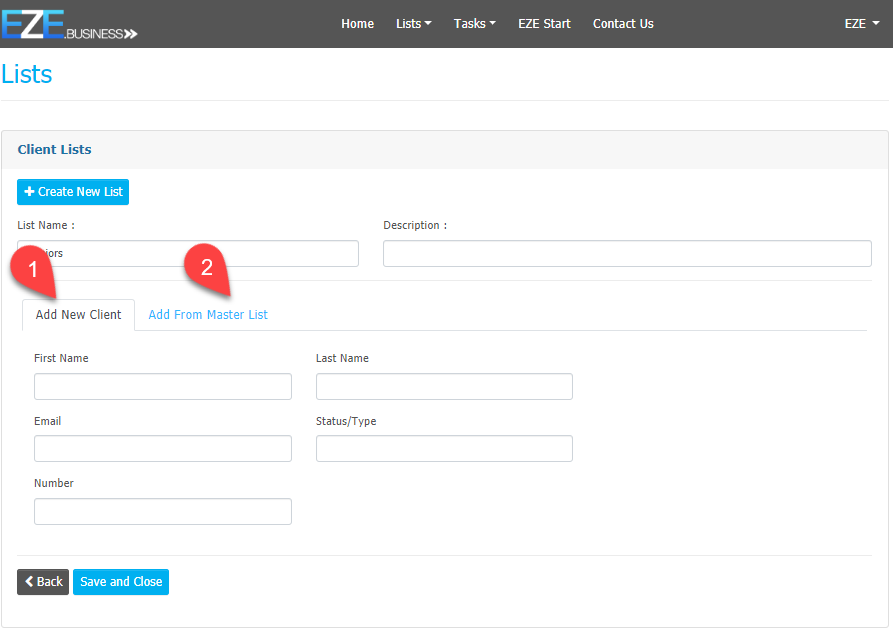
Here you have the option to add an Individual Item in the Open tab by remaining on Tab 1.
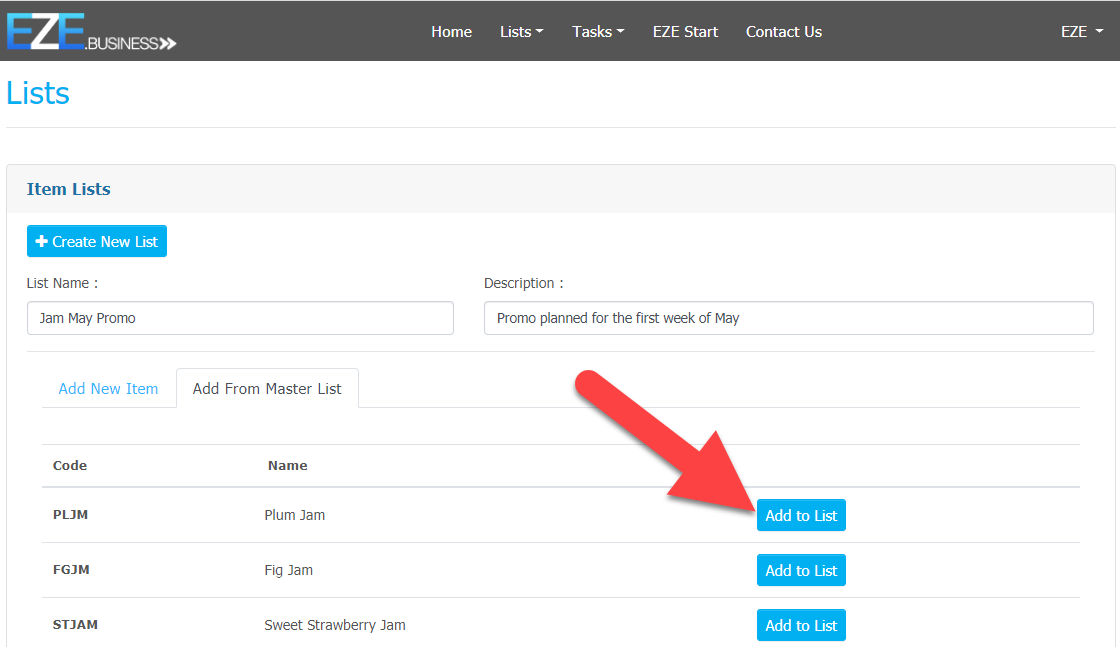
To select items from the Master List, go to Tab 2 as indicated.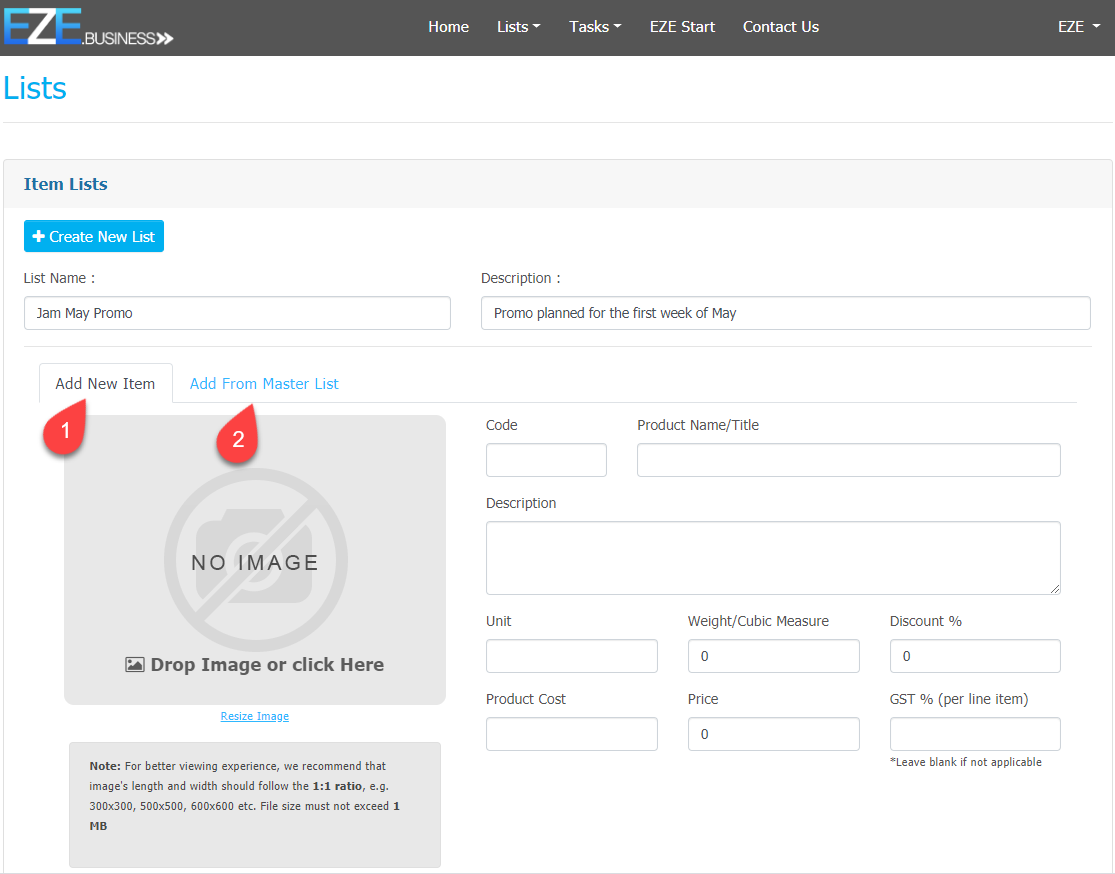

Introduction
Save and Close. You are ready to start selling!
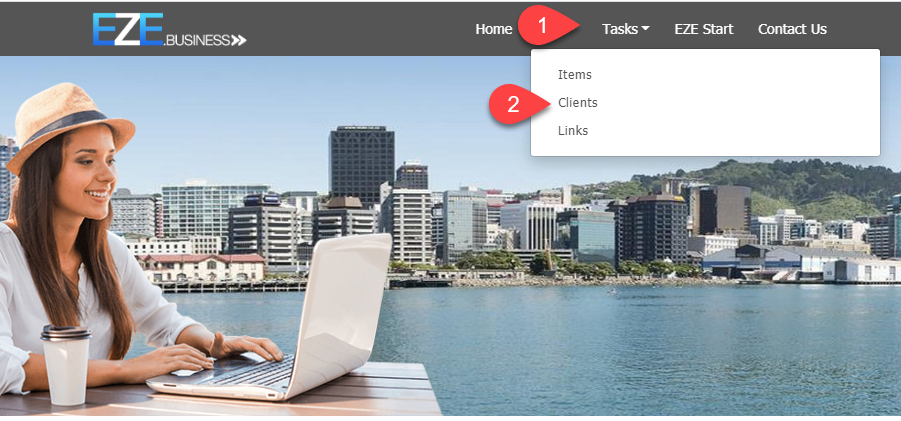
Next, select one of the following tasks.
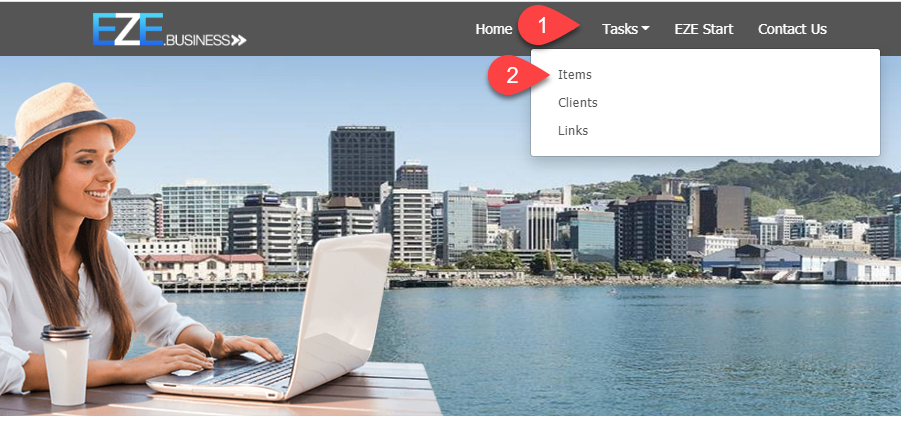
Tasks

Introduction
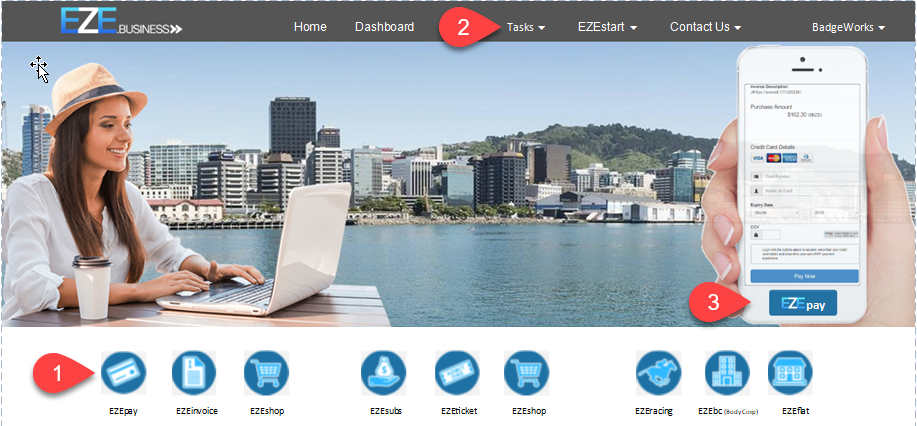
Allows the creation of a quick B2C (Business to Customer) cash sale type transaction when a customer walks through the door or when out on the job. This option is ideal if you don't have credit card or POLi pay options available for your customers.
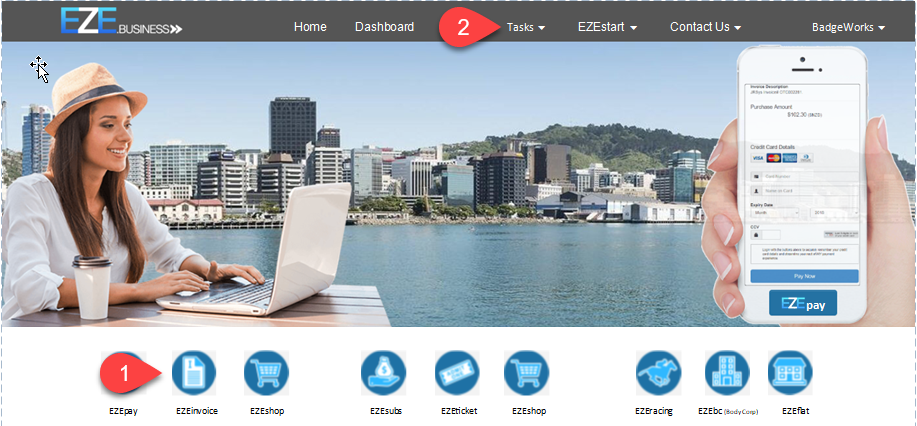
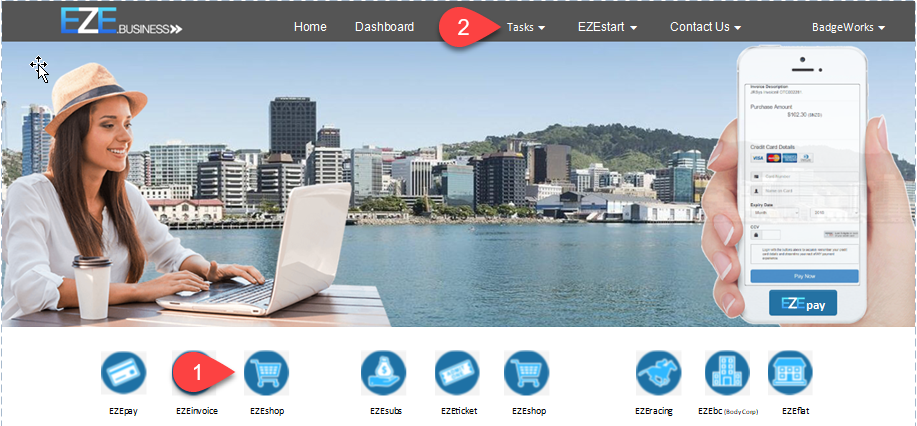
There are three ways you can access EZEpay:
Here are two examples, but any variation on these themes can be made.
Example 1:
Example 2:
Press Next
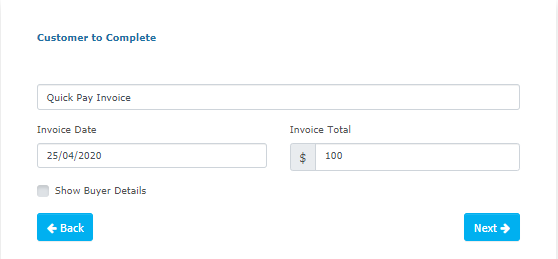
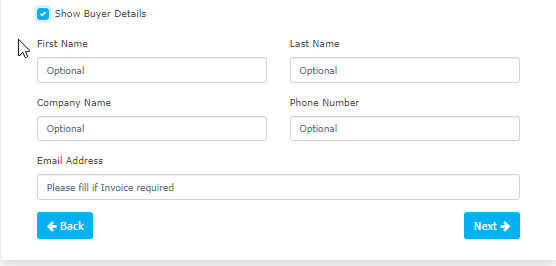
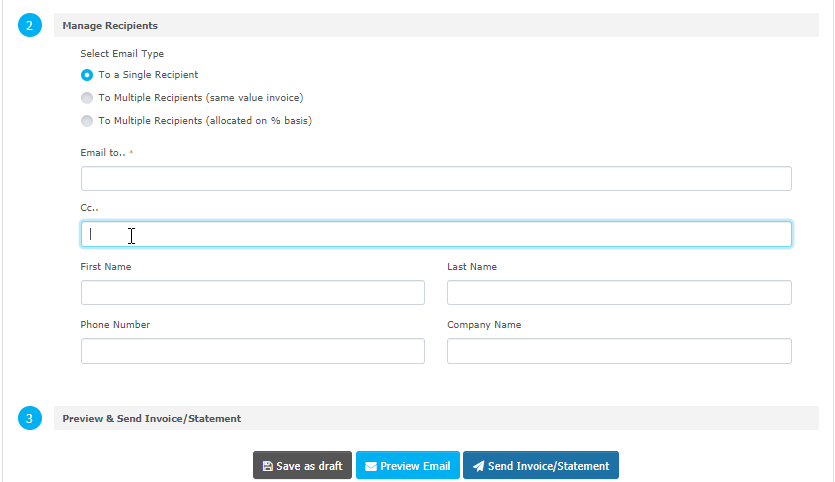
Alternatively, if you want to record the customer names and details tick the "Show Buyer Details" box and the screen will extend to allow the customer to enter their own details.

Introduction
There are two ways to access EZEinvoice:
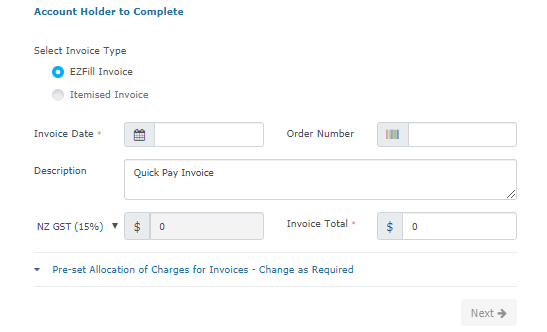
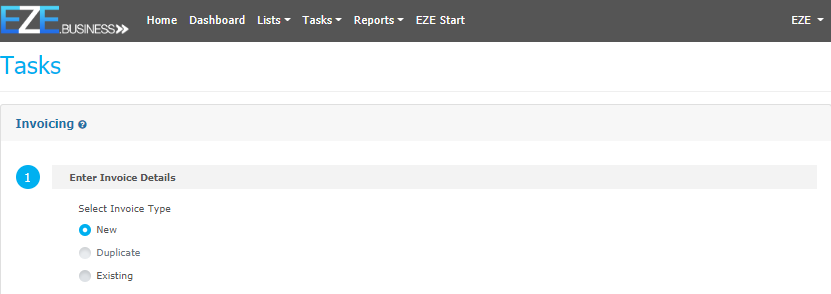
When opened there are three different types of invoice transactions you can perform in EZEinvoice:
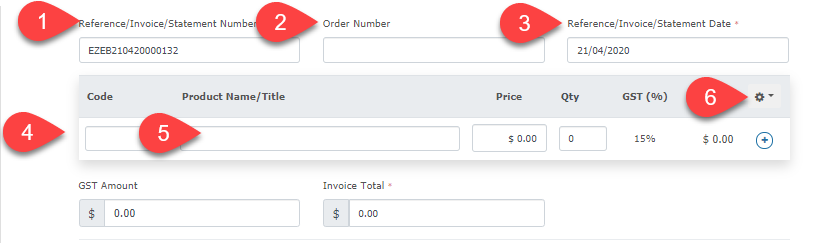
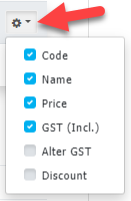
If you need to alter the GST rate for the likes of rest homes, or add a discount, then click on the small cog showing as number 6 above.
Here are two examples, but any variation on these themes can be made.
Example 1: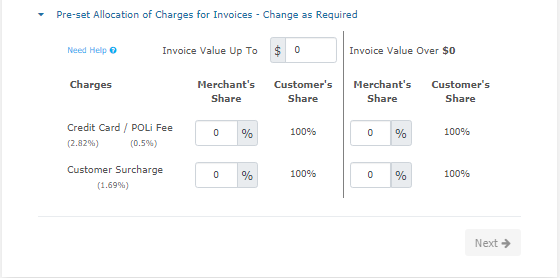
Example 2:


Introduction
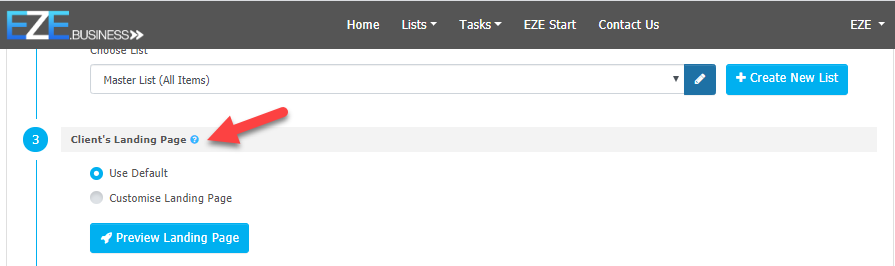
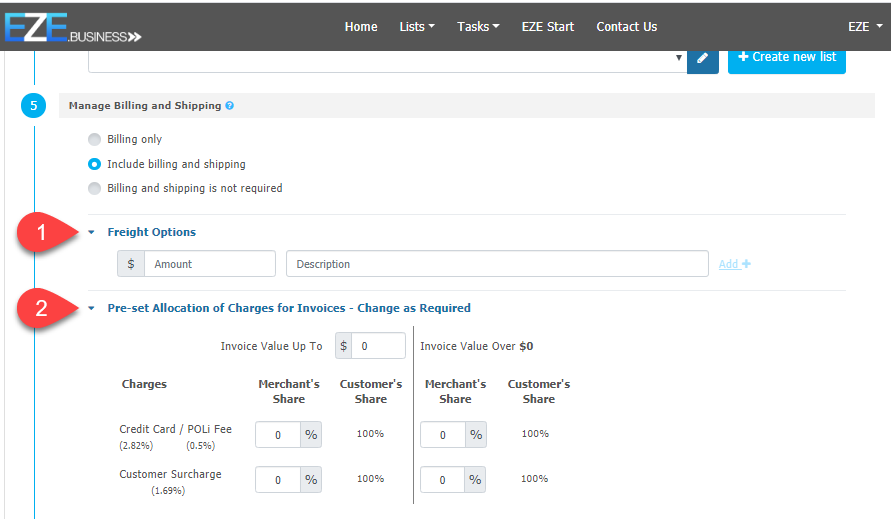
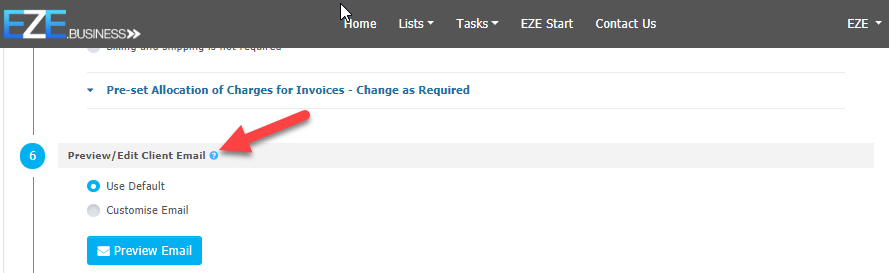
The following step gives you three options:

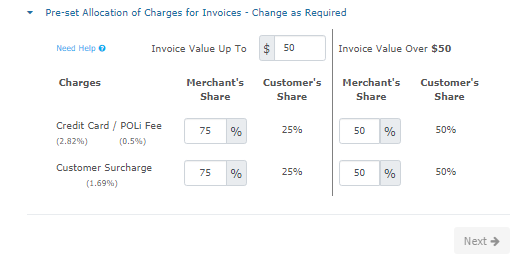
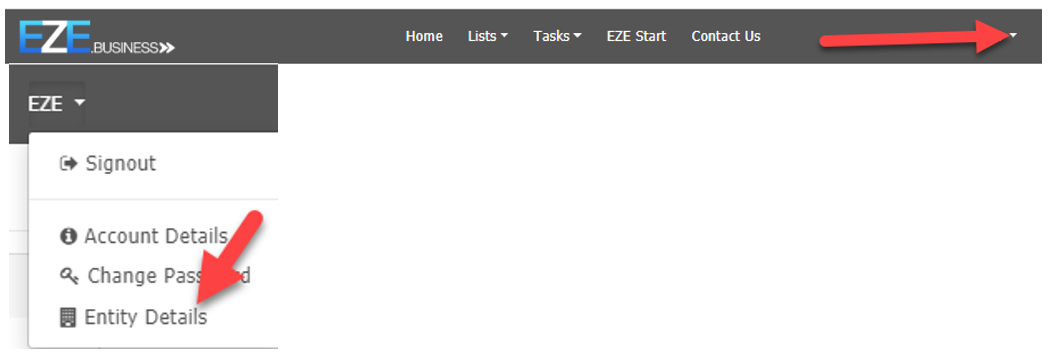
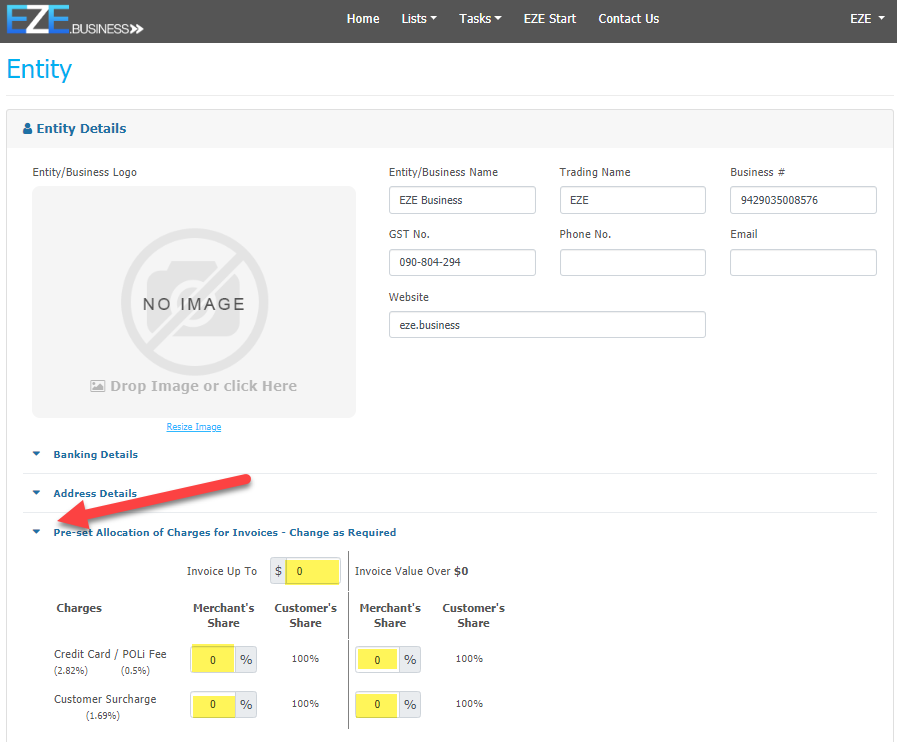
The default allocations should have been set up under the Entity Details section at registration time if fully completed. If the default settings do not appear, look for the down arrow at the top of the Home Page.
Press the small down arrow and choose Entity Details

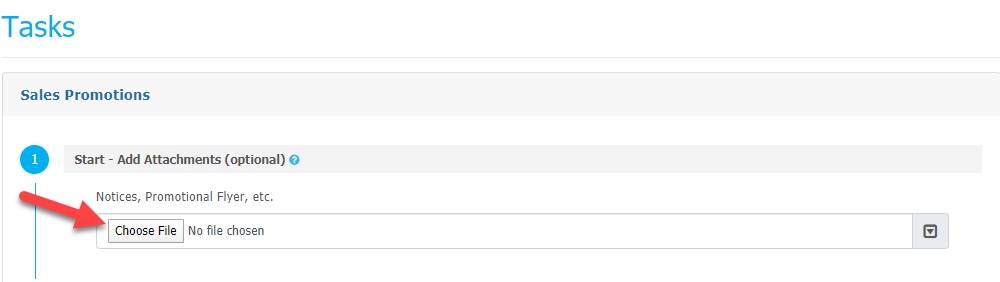
Stage 8 brings you to the point where you can now send out your promotion.
